Adding a border to your blanket gives it a professional finish, cleans up edges, and helps to cover yarn tails. Borders can be confusing at first, so I thought I would share some of my favourite tips for designing and adding them!
General Tips
- When crocheting blanket borders, I recommend focusing on getting your blanket to lay flat rather than maintaining a particular stitch count.
- This is why for simplicity I often pick border patterns that do not need a specific stitch multiple, as it eliminates the need for counting which can be tedious.
Choosing the Border Stitch
- Pick single crochet (sc) for a tight edge, half double crochet (hdc) for a slightly thicker border, or double crochet (dc) for a wider border.
- Alternate between rows of sc, hdc, and dc to vary the height of each round.
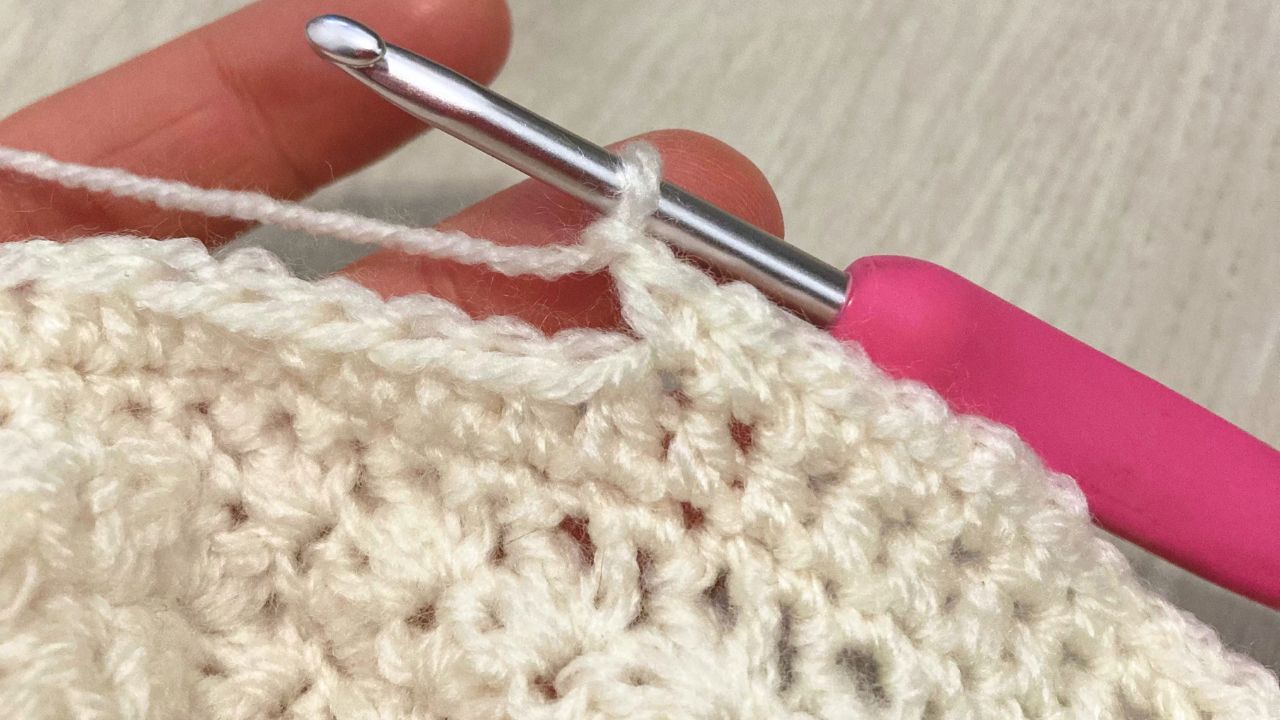
- Because the single crochet is a small stitch, it is ideal for cleaning up edges and corners, either as a base for additional border rounds or as a simple finishing edge.
Working Around the Blanket
- When working along the sides of the blanket, as a rule of thumb, work 1 sc into each sc row, 2 sc into each hdc row, and 3 sc into each dc row. Adjust this depending on your stitch, for example, a hdc border may need 1 hdc into each hdc row and 2 hdc into each dc row.
- When working along the top edge or bottom edge, I often like to match the number of stitches. For example, if my first row alternates 1 sc, 2 dc, I will do 1 sc, 2 sc when working a sc border along this row.
Working the Corners
- To create a solid corner, work 3 stitches (sc, hdc, or dc) into the corner stitch. For a small gap in the corner, ch 2 instead. For example, if your border is sc, work (1 sc, ch 2, 1 sc) in the corner stitch. On the next round, work your corner stitches into the ch-2 space.
- Check how your corner stitches look as you go, the goal is for the corner to lie flat. You may need to adjust them by adding 1 or 2 stitches in the corner stitch, such working 4 sc in the corner instead of 3 sc.
Keeping it Flat
- If your border is too tight, the blanket will start to curl. To fix this, work more stitches along the edges and in the corners.
- If your border begins to ripple, work fewer stitches along the edges and in the corners.
Do I need to turn my work?
- Turning after border rounds is often not necessary, but some patterns may instruct you to turn in order to achieve a specific look and keep the blanket flat.
- Not turning when working your border rounds keeps the same side facing for a consistent texture, which is important if your blanket is not reversible.
- Turn if you are working multiple border rounds to help prevent curling or to create a distinct, reversible edge.
Gauge and Tension
- Gauge is not critical for blankets, the main goal is consistent tension.
- To help with this, use the recommended hook size on your yarn label. If you crochet tightly, go up a hook size or if you crochet loosely, go down a size.
Hiding Colour Changes
- For striped blankets, an easy technique is to switch yarn every 2 rows. Don’t cut the yarn when changing colors, but instead simply drop it and leave it. When you return to that point, pick it up again.
- This creates small floats along the edge, which can be hidden and secured when working the border. This method saves time since you don’t need to cut the yarn or weave in ends after each color change.
Foundation Borders
- Depending on the stitch used in the blanket body, I like to add a foundation round of either sc, hdc or dc. I find this makes it easier to add fancy border designs or as a quick finishing edge.
- Foundation single crochet (sc) border: Begin in any corner space by pulling up a loop. Ch 1 (does not count as a st), work 2 sc in the same space. Continuing around the blanket, work 1 sc in each st and 3 sc in each corner space. When you return to the beginning, work 1 sc in the starting corner space. Sl st in the first sc to join. This completes round 1 and leaves you at the first corner, ready for round 2.