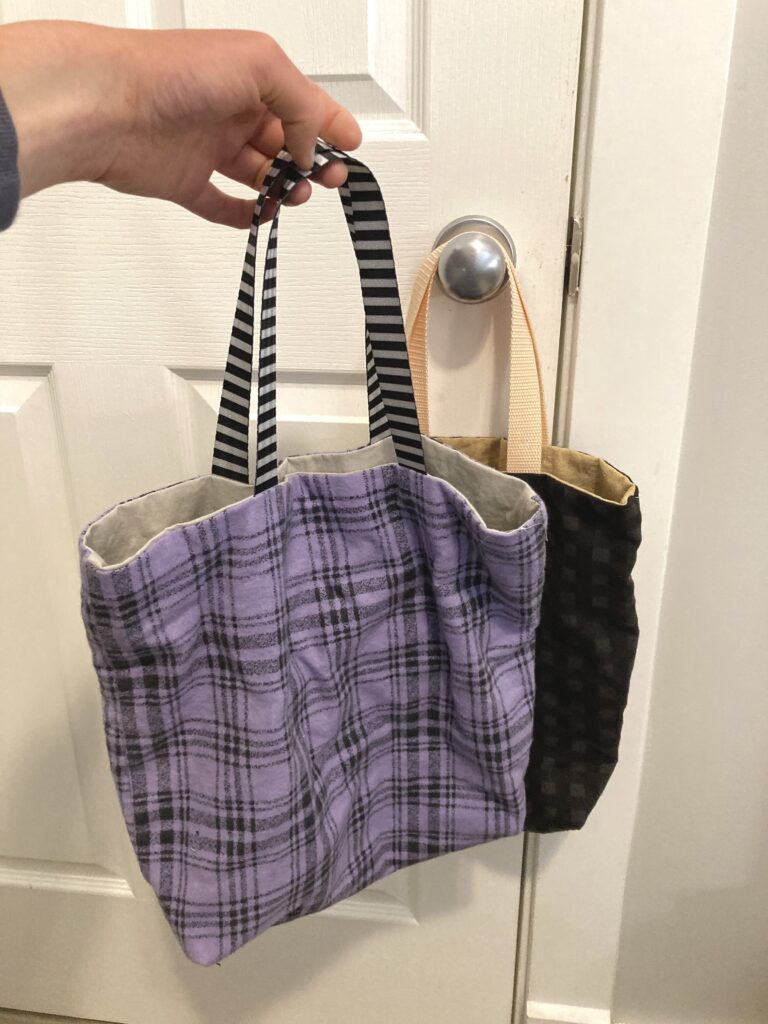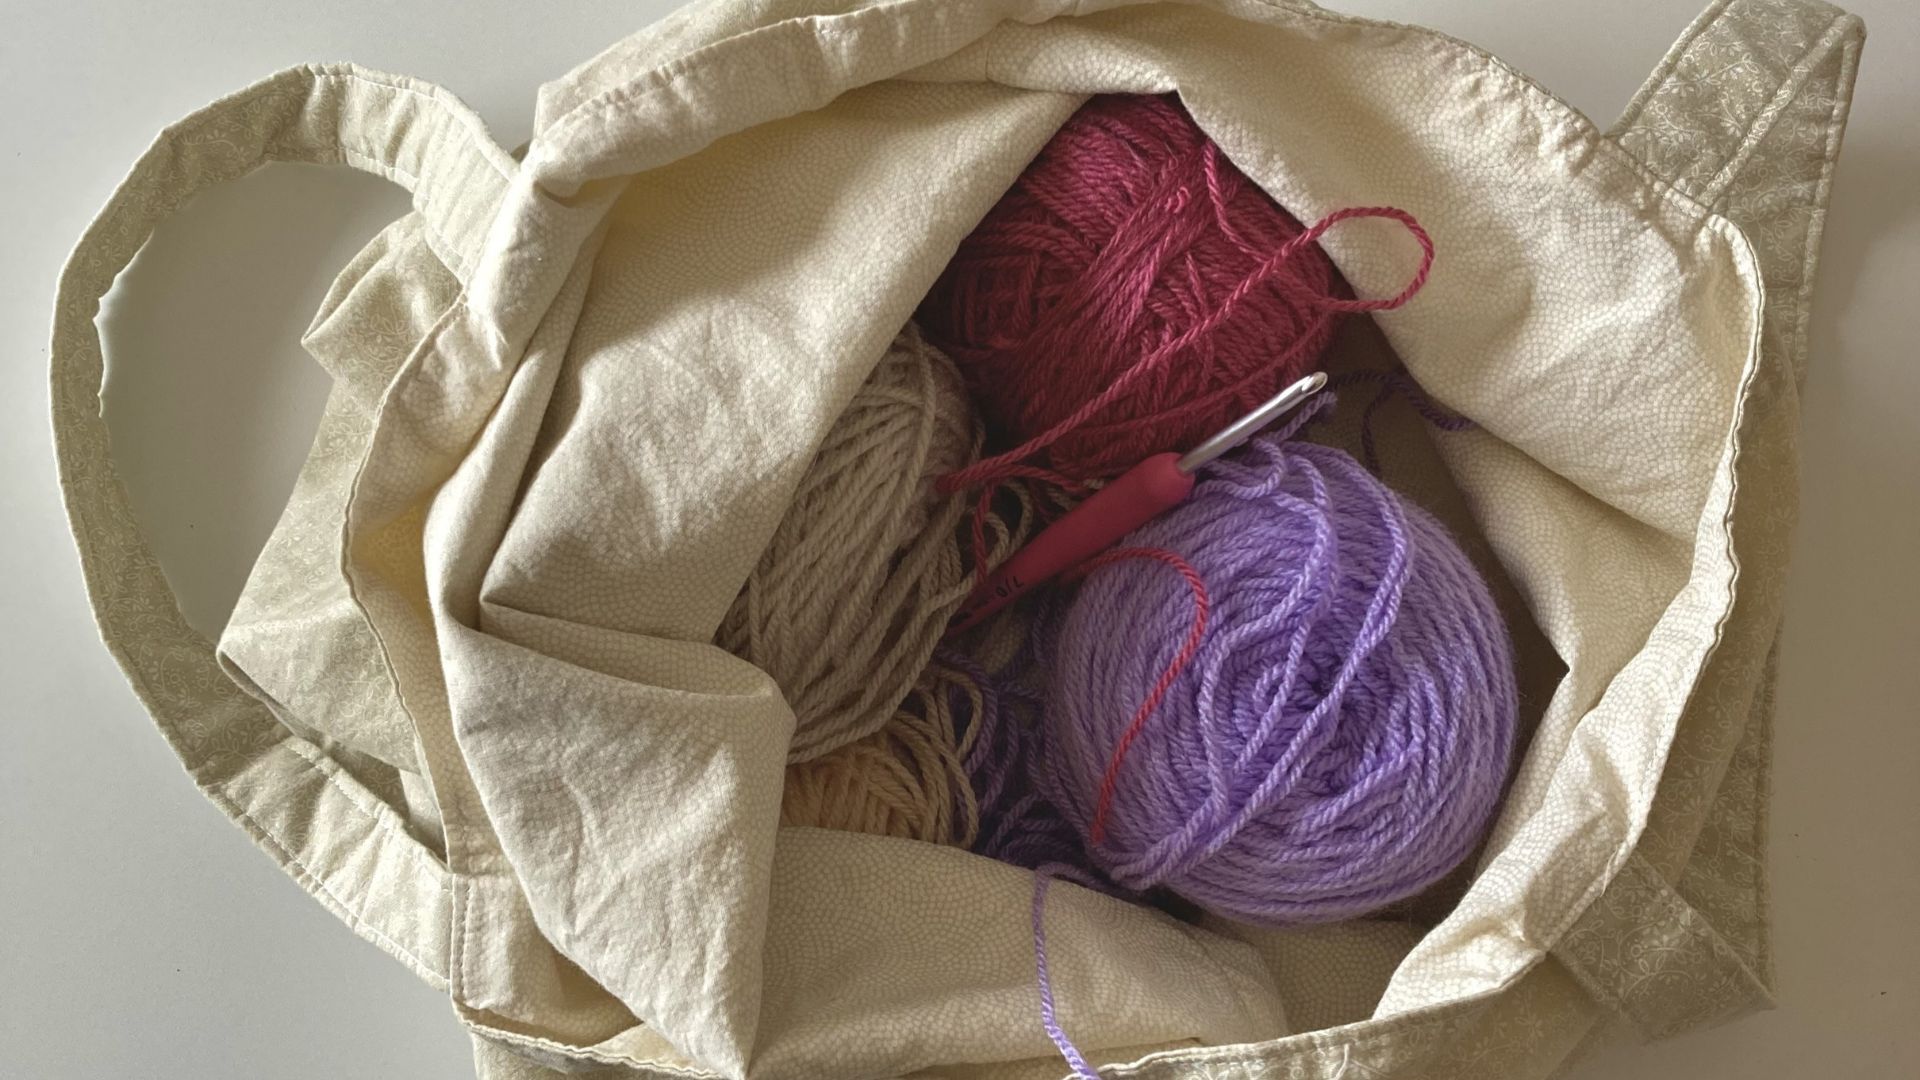
This reversible tote bag is perfect for taking your crochet or knitting projects out and about. The tote bag is easy to make and comes in two sizes with two handle options.
Materials
- Fabric of choice for both the lining and exterior – ½ metre of each for a small bag, ¾ metre of each for a large bag
- Lightweight interfacing
- 1″ / 2.5 cm handle webbing (length is 17” / 43 cm for a small bag or 20” / 51 cm for a large bag).
- Sewing machine, thread, iron and scissors
- Measuring tape or ruler
- Sewing clips or pins
Finished Size
- Small bag: 14″ (36 cm) length x 13″ (33 cm) height x 4″ (10 cm) width
- Large bag: 17″ (43 cm) length x 14.5″ (37 cm) height x 5.5″ (14 cm) width
Notes
- Always backstitch at the end and start of seams.
- The bag in this pattern uses cotton quilting fabric and a 3mm sewing machine stitch length.
- To make a sturdier tote, line the exterior and interior fabric pieces with interfacing.
Copyright
- You are welcome to sell items made from this pattern, just mention that it is a Pleasant Crochet pattern.
- The written pattern is for personal use only (no selling, reproducing or altering parts of it).
Step 1: Cut Handle Pieces
- Choose 1” (2.5 cm) webbing or fabric with interfacing for your handles.
Small bag:
- From handle fabric: (cut 2) 17” x 4” / 43 cm x 10 cm
- From interfacing: (cut 2) 17” x 4” / 43 cm x 10 cm
- If using webbing instead: (cut 2) 17″ / 43 cm from the webbing.
Large bag:
- From handle fabric: (cut 2) 20” x 4” / 51 cm x 10 cm
- From interfacing: (cut 2) 20” x 4” / 51 cm x 10 cm
- If using webbing instead: (cut 2) 20″ / 51 cm from the webbing.
Step 2: Cut Bag Body Pieces
- If using interfacing for the bag, fuse it to the wrong side of the cut pieces.
Small bag:
- From exterior fabric: (cut 2) 15.5” x 15.5” / 40 cm x 40 cm
- From lining fabric: (cut 2) 15.5” x 15.5” / 40 cm x 40 cm
Large bag:
- From exterior fabric: (cut 2) 18” x 18” / 46 cm x 46 cm
- From lining fabric: (cut 2) 18” x 18” / 46 cm x 46 cm
Step 3: If Making Fabric Handles (skip to step 4 if using webbing)
- Fold the handle in half lengthwise with the wrong sides together, press.
- Unfold and bring the long edges towards the centre crease on the wrong side, press.
- Fold in half lengthwise on the centre crease, press.
- Topstitch 1/8” (3mm) from the edge lengthwise on either side of the handle.
- Make 2 handles.
Step 4: Attach the Handles
- Fold the exterior piece in half, mark 2.5″ (6 cm) on either side of this centre crease.
- Place the handle ends at the marks and clip in place. Sew each end in place with a 1/4” (6 mm) seam.
- If using directional prints, ensure the handle ends are sewn to the top of the print.
Step 5: Construction
- Place the lining piece over the exterior and handle piece, right sides together.
- Clip, and sew along the top edge with a 1/4” (6 mm) seam.
- Sew along the top edge again, this time with a 1/2″ (1.25 cm) seam.
- Repeat steps 4 and 5 with the other handle, lining and exterior piece.
Step 6: Sewing
- Bring the right sides of the exterior and lining together.
- Sew all the way around the outer edge of the bag with a 1/4” (6 mm) seam, leaving a 3″ (7.5 cm) gap at the bottom of the lining.
Step 7: Boxy Corners
- Measuring from the stitch line, cut out squares on all four corners. Squares measure 2″ (5 cm) for the small bag or 2.5″ (6.25 cm) for the large bag.
- Pinch each corner together so the side seam and bottom seam are aligned.
- Sew a 1/4″ (6 mm) seam across the corners.
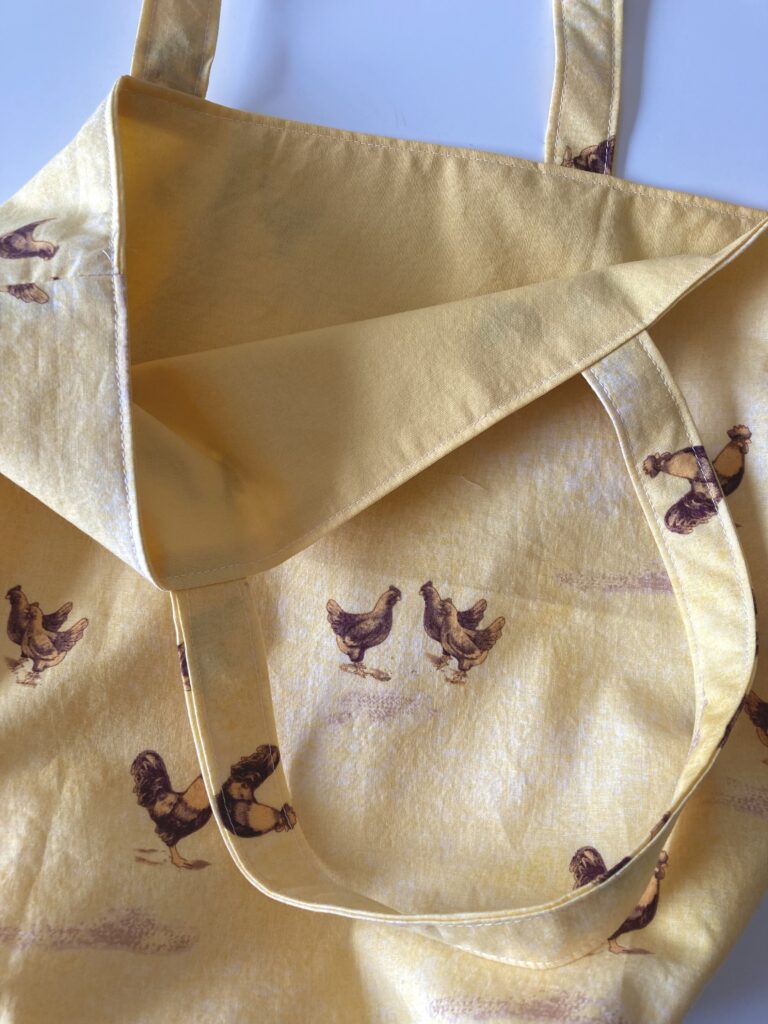
Step 8: Finishing Touches
- Turn the bag inside out and press.
- Sew the hole in the lining closed with a 1/8″ (3 mm) seam.
- Topstitch along the top of the bag with a 1/8″ (3 mm) seam.
- Give a final press all around.
Congratulations, your tote bag is all done!