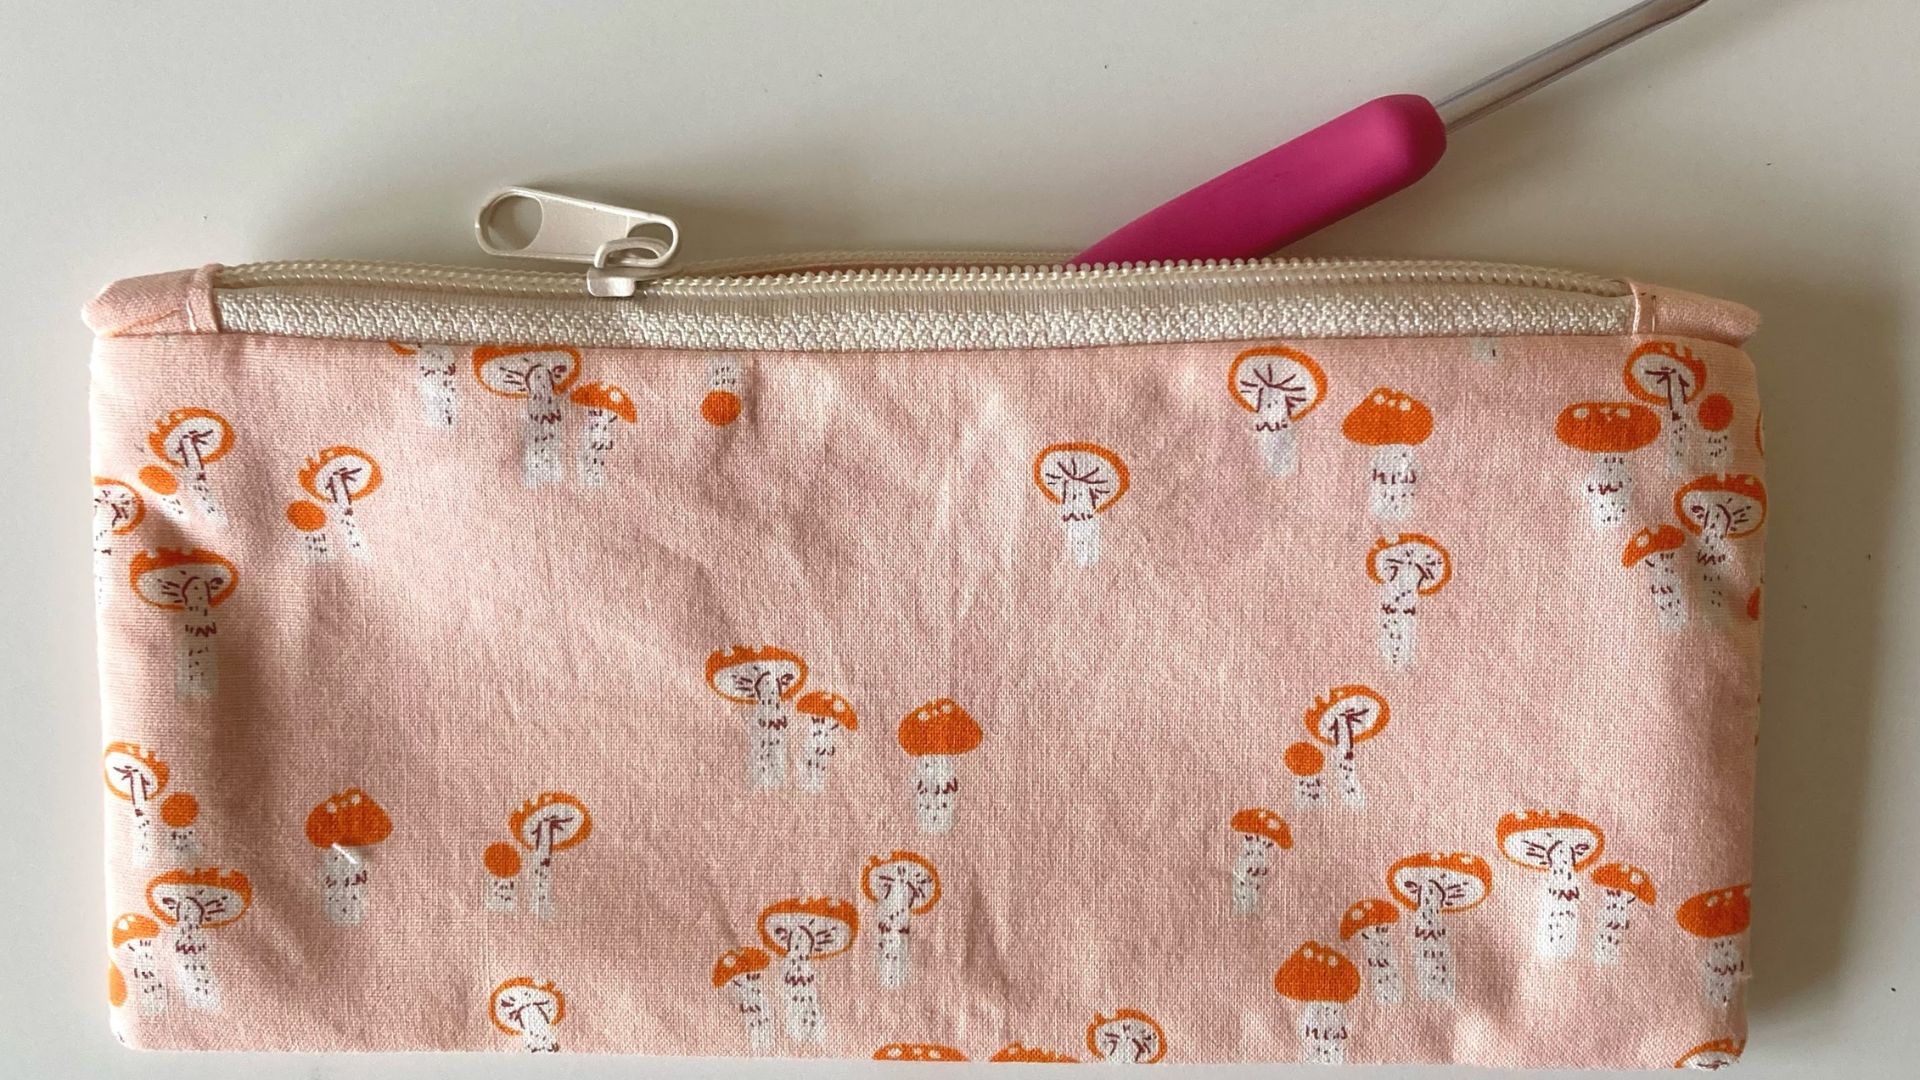
This zipper pouch is fun to make and is the perfect size for crochet hooks and notions.
Materials
- Fabric, fat quarter (18″ x 22″ / 56 cm x 46 cm) for both lining and exterior
- 8″ (20 cm) of zipper tape
- Fusible fleece or medium-weight interfacing
- Sewing machine, thread, iron, and scissors
- Measuring tape or ruler
- Sewing clips or pins
Finished Size
8″ (20 cm) Length x 3.5″ (9 cm) Height
Notes
- Always backstitch at the end and start of seams.
- The pouch in this pattern uses cotton quilting fabric and a 3 mm sewing machine stitch length.
Copyright
- You are welcome to sell items made from this pattern, just mention that it is a Pleasant Crochet pattern.
- The written pattern is for personal use only (no selling, reproducing or altering parts of it).
Need some extra help?
- Refer to the image gallery at the end of this pattern for photos of challenging steps.
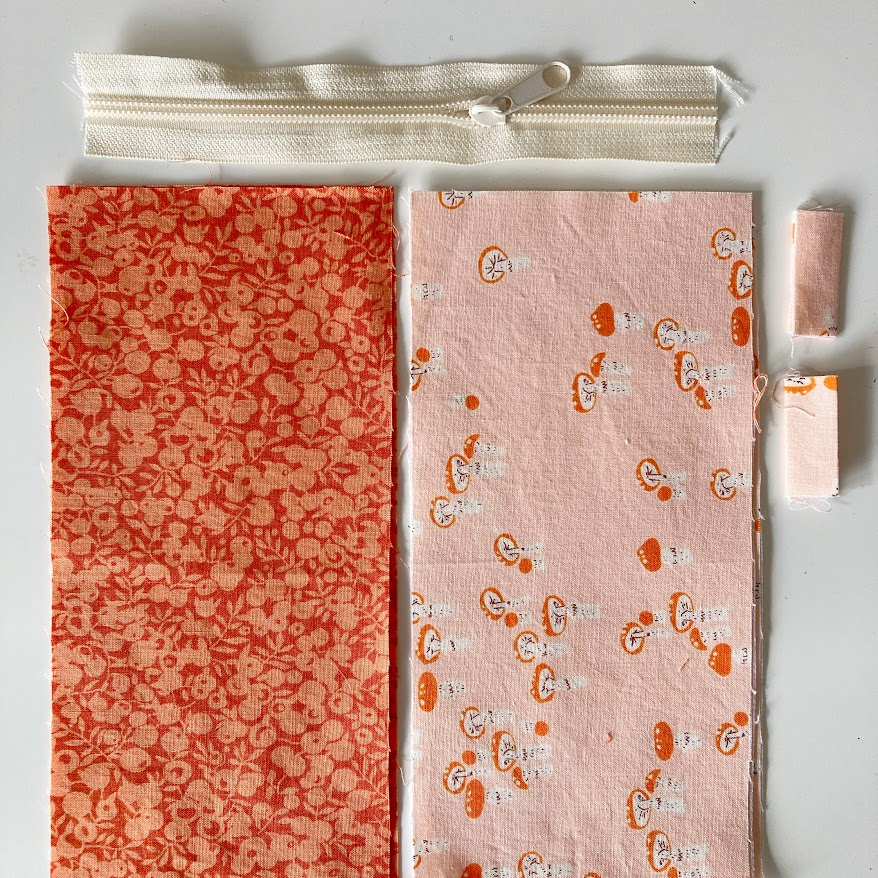
Step 1: Cut the Fabric
- From exterior fabric: (cut 2) 4.25” x 9” / 10.5 cm x 23 cm
- From lining fabric: (cut 2) 4.25” x 9” / 10.5 cm x 23 cm
- From fusible fleece: (cut 2) 4.25” x 9” / 10.5 cm x 23 cm
- Zipper tabs, from exterior or lining fabric: (cut 2) 1.5” x 3.5” / 2.5 cm x 6 cm
- See picture 1
- Fuse the fleece to the wrong side of the exterior pieces.
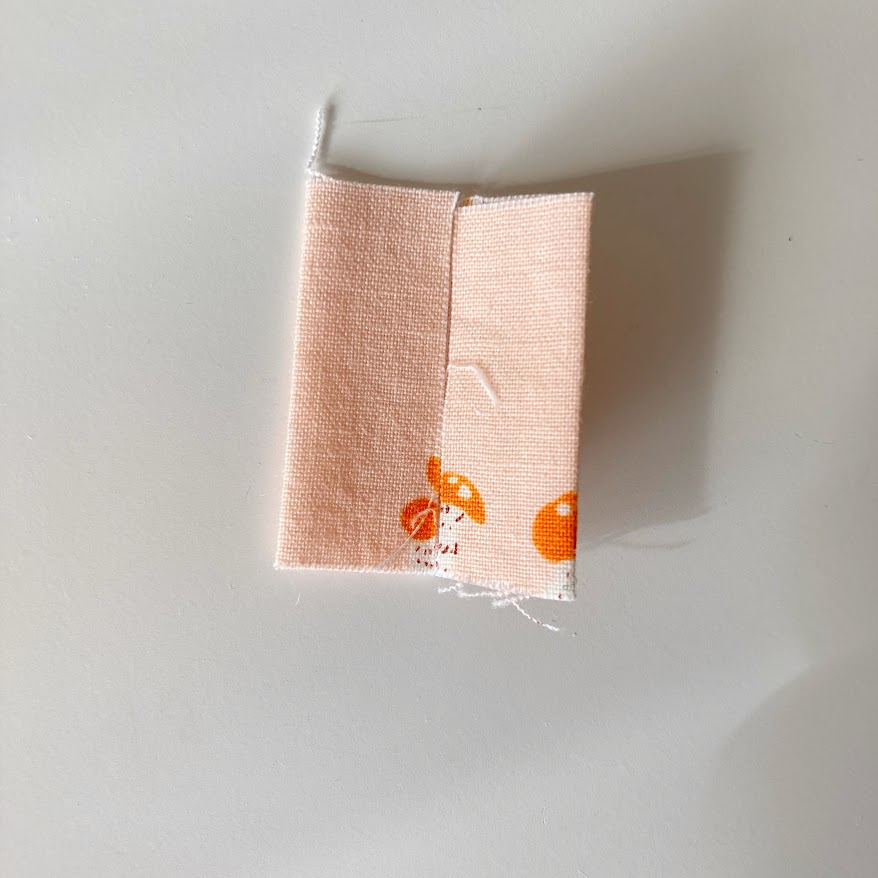
Step 2: Prepare the Zippers
- Fold the zipper tab in half widthwise to make a crease.
- Open up the tab and fold the outer edges to the center crease, press.
- If using zipper tape, make sure the zipper pull is attached.
- Place the zipper ends in the zipper tab and sew a 1/8″ (3 mm) seam across.
- See pictures 2-4
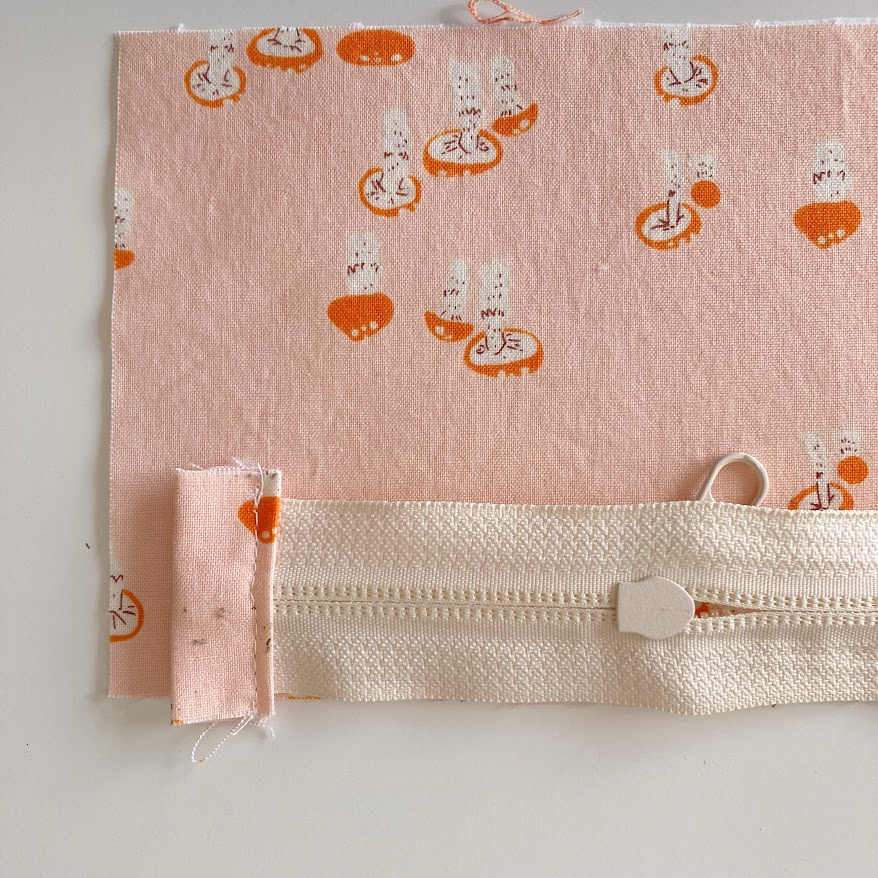
Step 3: Sew the Zipper
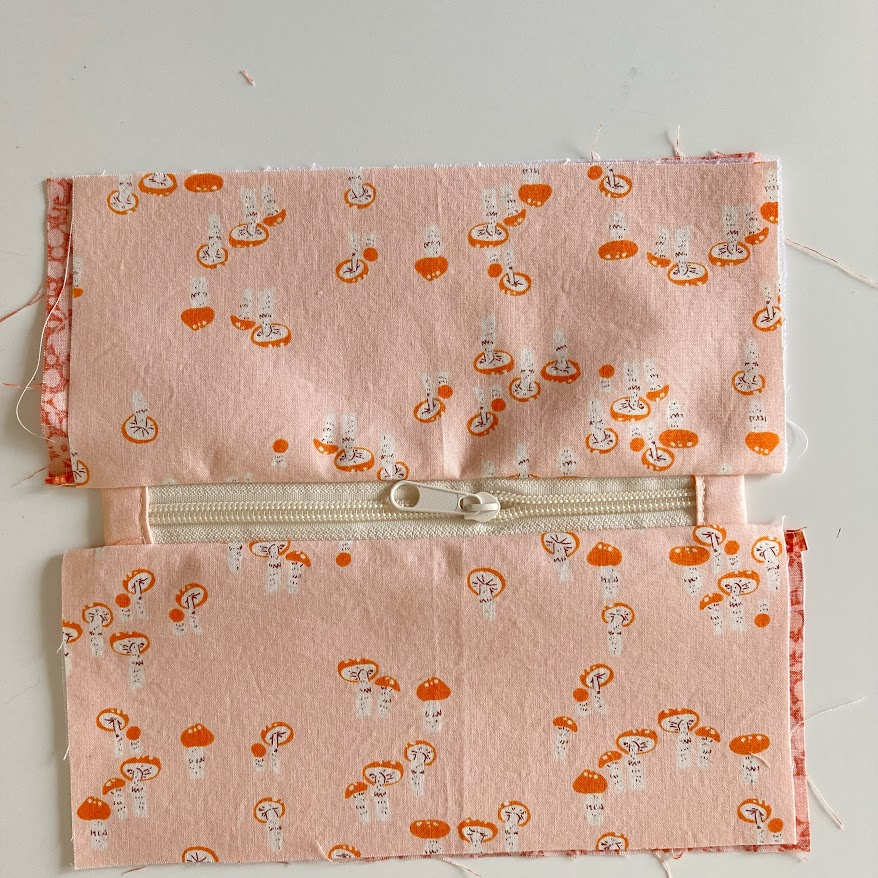
- Place the zipper right side down along the top edge of the right side of the exterior piece (see picture 5).
- Sew the zipper to the exterior piece with a 1/8″ (3 mm) seam.
- Place the lining piece right side down on top of the zipper and clip in place.
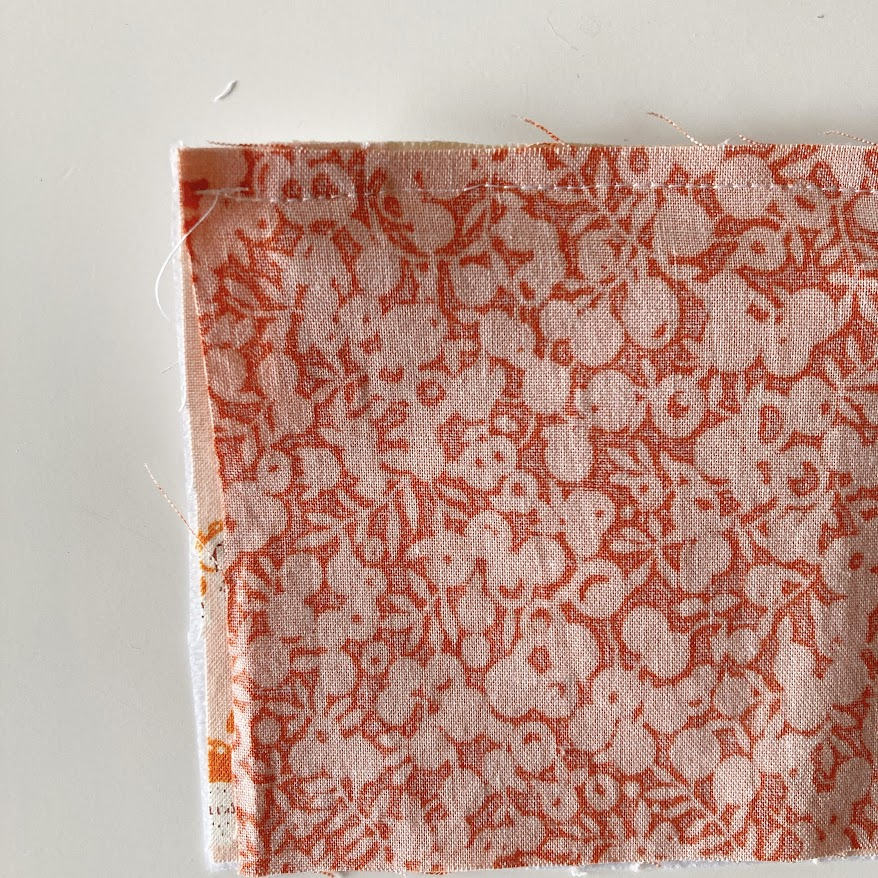
Step 4: Sew the Main Pieces
- Sew across all three layers (exterior, zipper, lining) with a 1/4″ (6 mm) seam, moving the zipper pull out of the way as needed (see picture 6).
- Trim off any extra zipper tab fabric that hangs past this seam.
- Repeat step 3 and 4 for the other exterior and lining pieces (see picture 7).
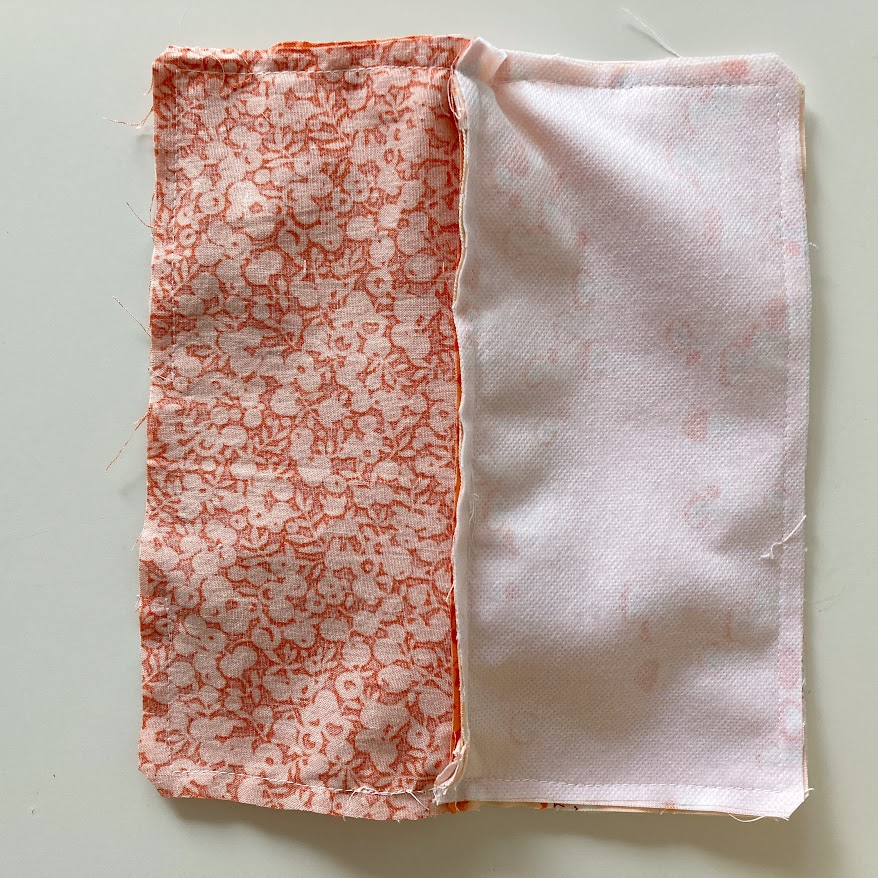
Step 5: Sew Around
- Bring the right sides of the exterior and lining together.
- Sew all the way around the outer edge of the pouch with a 1/4″ (6 mm) seam, leaving a 3″ (7.5 cm) gap at the bottom of the lining (see picture 8).
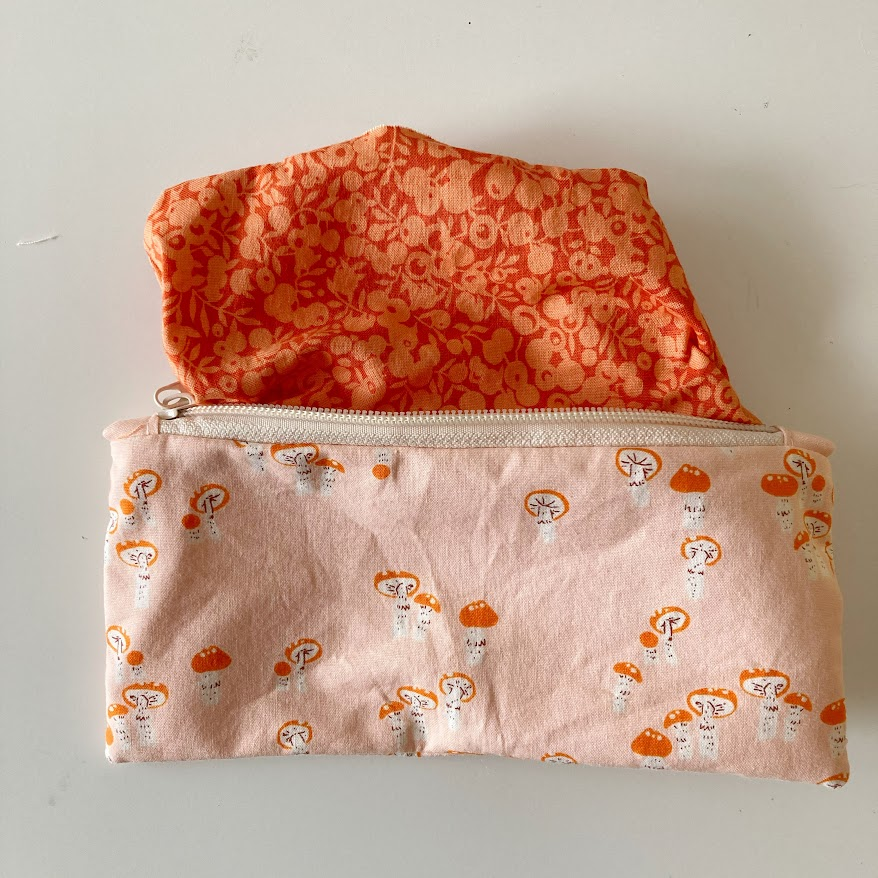
Step 6: Finishing Touches
- Turn the pouch inside out through the hole in the lining and press.
- Sew the gap in the lining closed with a 1/8″ (3 mm) seam (see picture 9).
Photo Gallery: